IoT for Enterprises — From Prototype to Production
Why IoT Matters for Businesses
The Internet of Things is no longer a buzzword. In practice, IoT means physical devices equipped with sensors, actuators, and network connections that collect data, automate processes, and enable new business models. From building automation to production monitoring to standalone products — the use cases are as varied as the businesses themselves.
What many underestimate: developing an IoT product is not a pure software project. It is an interdisciplinary endeavor that combines electronics, firmware, mechanical design, cloud infrastructure, and application software. This breadth is what makes IoT projects demanding — and particularly rewarding.
At IT-Trail, we develop IoT products from the initial idea through to production readiness. In this article, we share our experiences from real projects and describe the typical journey an IoT product takes.
The Development Phases: From Idea to Production
IoT product development follows a clear phase model. Each phase has its own focus, its own tools, and its own challenges.
Phase 1: Ideation and Concept
Every project starts with an idea — often driven by a concrete problem. A process that is manually monitored and could be automated. A device that captures data nobody is using. A product that does not yet exist on the market.
In this phase, we answer the fundamental questions:
- What should the device do? Which sensors, actuators, and interfaces are needed?
- Where will it be deployed? Indoors, outdoors, in humid environments, at extreme temperatures?
- How does it communicate? WiFi, Bluetooth, ESP-NOW, 4G/LTE, or wired?
- Who are the users? Technical specialists, end customers, maintenance teams?
- What production volume? One-off, small series (10-100 units), or mass production?
The answers to these questions determine the entire subsequent development. A wrong decision in this phase can become expensive later.
Phase 2: Breadboard Prototype
The first physical prototype is built on a breadboard — a prototyping board where electronic components can be connected without soldering. The goal: prove the basic feasibility.
Typically, we use a microcontroller like the ESP32 in this phase, connected to the required sensors and actuators. The ESP32 has established itself as the standard for IoT prototyping — and for good reason:
- Integrated WiFi and Bluetooth — no additional modules needed
- Powerful dual-core processor — enough computing power for most applications
- Low cost — from approximately EUR 3 per module in small quantities
- Large community — extensive libraries and documentation
- Versatile I/O — GPIO, ADC, DAC, SPI, I2C, UART, and more
In this phase, we write the initial firmware — often in C/C++ using the ESP-IDF framework or Arduino. The code is not production-ready yet, but it demonstrates that the core functionality is achievable.
Result: A working prototype on the breadboard that demonstrates core functionality. Duration: 1-3 weeks.
Phase 3: 3D-Printed Prototype
Once the electronics work on the breadboard, it is time for an enclosure. This is where 3D printing comes in — a technology that has revolutionized prototype development.
With a 3D printer, we can produce a custom enclosure within hours that protects the electronics, provides mounting points, and gives a first impression of the final product. Design changes are quickly implemented — a new version is printed overnight.
In this phase, the wiring also becomes more professional. Instead of loose wires on the breadboard, we use prototyping boards or first hand-soldered circuit boards. The firmware is extended and stabilized.
Result: A handleable prototype with enclosure that can be tested in the real environment. Duration: 2-4 weeks.
Phase 4: Custom PCB
The transition from breadboard prototype to custom PCB (Printed Circuit Board) is the decisive step toward production readiness. A custom circuit board replaces loose cables and plug connections with fixed, reliable connections.
PCB design involves several steps:
- Create schematic: The electronic circuit is formally defined in an EDA tool (e.g., KiCad or Altium).
- Design layout: Components are placed on the board and traces are routed.
- Design review: Checking for errors, EMC issues, and manufacturability.
- Order fabrication: The board is ordered from a PCB manufacturer (typical lead time: 1-3 weeks).
- Assembly: Electronic components are soldered onto the board — by hand for prototypes, by machine for larger quantities.
A custom PCB offers critical advantages over the breadboard prototype:
- Reliability: Fixed connections instead of plug contacts
- Compactness: Significantly smaller form factor possible
- Reproducibility: Every board is identical
- Professional appearance: Important for customer presentations and testing
Result: A near-production device with custom PCB and optimized enclosure. Duration: 4-8 weeks.
Phase 5: Series Production
The final step is transitioning to series production. Depending on volume and complexity, there are different paths:
- Small series (10-100 units): Manual or semi-automatic assembly, 3D-printed or CNC-machined enclosures
- Medium series (100-1,000 units): Machine assembly by an EMS provider (Electronic Manufacturing Services), injection-molded enclosures become economical from approximately 500 units
- Large series (1,000+ units): Fully automatic manufacturing, injection mold tooling, certifications (CE, FCC)
For most of our clients, we operate in the small to medium series range. This is the sweet spot where custom hardware is economically viable without the complexity of mass production.
Technology Decisions: ESP32 vs. Arduino vs. Alternatives
Choosing the microcontroller is one of the most important decisions in an IoT project. Here is an honest assessment of the most common options:
ESP32
The all-rounder for most IoT applications. WiFi and Bluetooth are integrated, computing power is more than sufficient for most use cases, and the price-performance ratio is excellent. Our first choice for most new projects.
Arduino (ATmega-based)
The classic for getting started with embedded development. Easy to program, huge community, but limited in computing power and connectivity. Still a solid choice for simple applications without network connectivity.
Raspberry Pi (Pico / Zero)
When more computing power is needed — for image processing, edge machine learning, or as a gateway. Higher power consumption and larger form factor than ESP32, but significantly more capable.
Industrial PLCs
For industrial applications with high requirements for reliability and certifications. Significantly more expensive, but robust and standards-compliant.
Communication Protocols: Making the Right Choice
The choice of communication protocol depends on the use case:
WiFi: The standard for indoor applications with existing WLAN infrastructure. High data rates but higher power consumption. Ideal for stationary devices with power supply.
Bluetooth / BLE: For short distances and battery-powered devices. Bluetooth Low Energy enables months of battery operation. Ideal for wearables, sensors, and smartphone communication.
ESP-NOW: A proprietary protocol from Espressif for direct communication between ESP32 devices. Very low latency, no router needed, but limited range. Ideal for local sensor networks.
4G/LTE: For mobile or remote devices without WiFi access. Higher costs due to cellular modules and SIM cards, but full network coverage. Ideal for outdoor devices or mobile applications.
LoRaWAN: For applications that need to transmit small amounts of data over long distances (up to 15 km). Extremely low power consumption. Ideal for environmental monitoring, agriculture, and smart city applications.
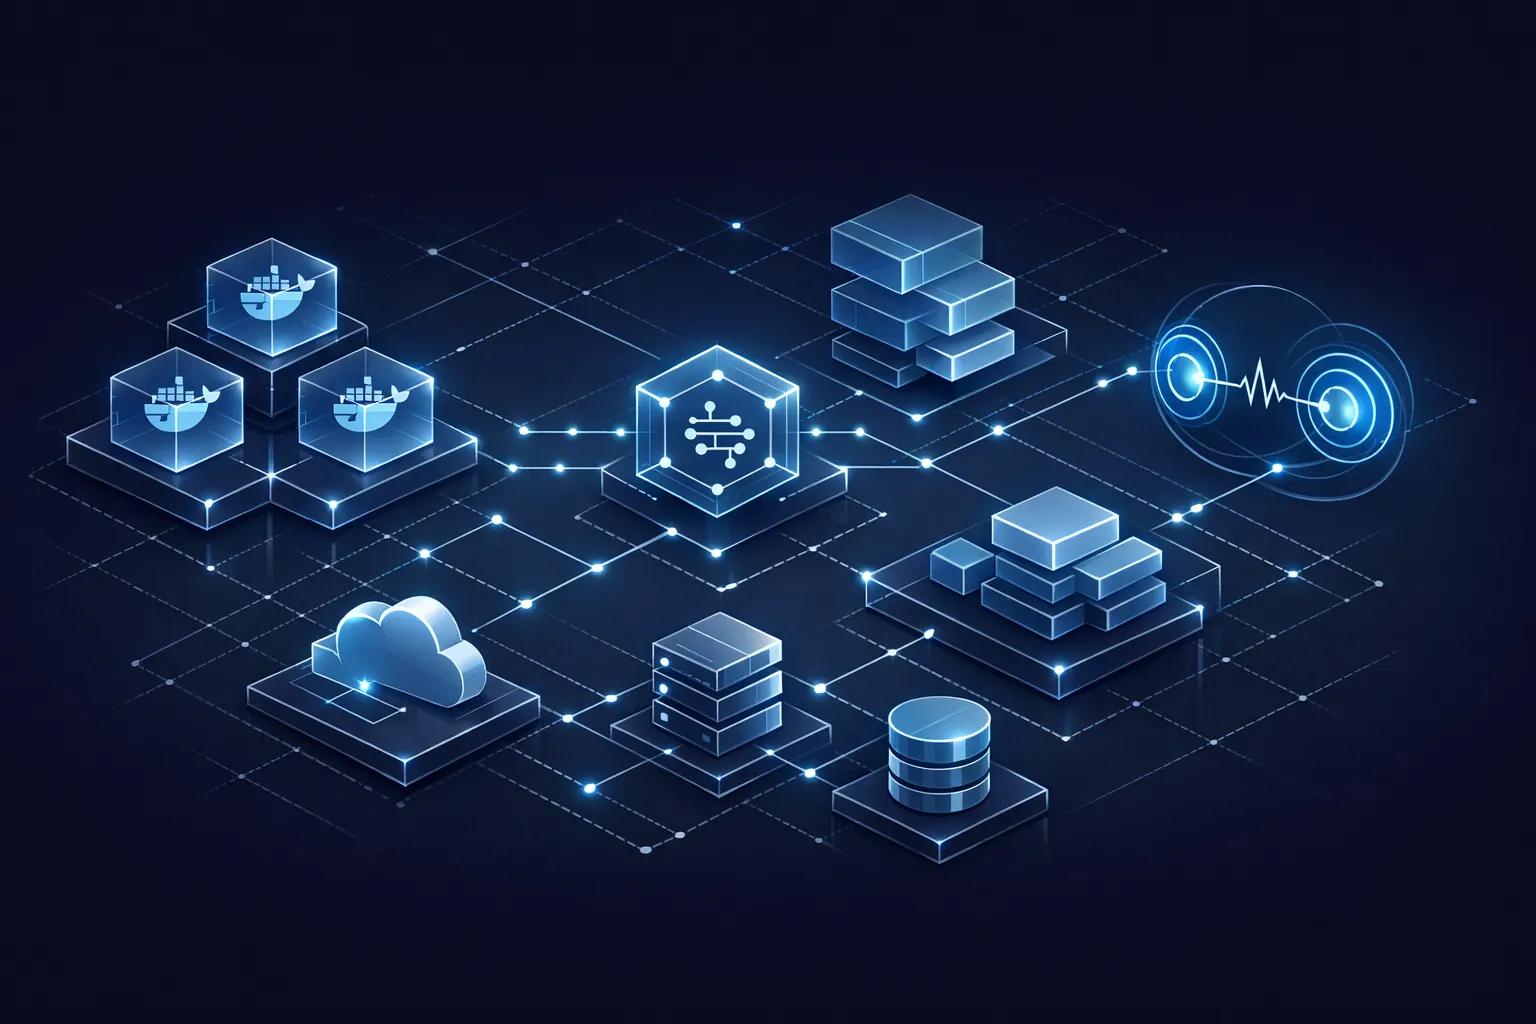
Cloud Integration: Managing IoT Fleets
A single IoT device is a prototype. A fleet of hundreds or thousands of devices is a product. The difference lies in the cloud infrastructure behind the devices.
An IoT cloud platform must fulfill several tasks:
- Device registration and management: Every device must be uniquely identifiable and manageable.
- Data collection and storage: Sensor data must be reliably received, stored, and made available.
- Over-the-Air updates (OTA): Firmware updates must be deliverable remotely — to individual devices or the entire fleet.
- Monitoring and alerting: When a device goes offline or reports anomalous values, someone must be notified.
- Dashboards and reporting: Data must be visualized and prepared for decision-making.
Depending on requirements, we use various technology stacks: from custom-built solutions with .NET, Azure IoT Hub, or AWS IoT Core to specialized IoT platforms. The choice depends on device volume, security requirements, and the client’s existing tech stack.
Real-World Examples from IT-Trail
Disinfection Tunnel: Arduino + Blazor + 4G
One of our first IoT projects was the development of a disinfection tunnel. Created during the COVID-19 pandemic, this product combines hardware and software in a way that is typical for IoT projects.
The hardware: An Arduino microcontroller controls sensors (motion detection, fill level measurement) and actuators (pumps, nozzles, LED lighting). Communication with the cloud occurs via a 4G module — since the tunnels are often positioned in entrance areas without WiFi.
The software: A Blazor-based dashboard enables remote monitoring and control. Fill levels, operating hours, and maintenance intervals are displayed in real time. Technicians can remotely diagnose and configure the device.
The challenge: The biggest challenge was maintaining reliable 4G connectivity across different building environments. We learned that cellular reception in concrete buildings works differently than on the lab bench. The solution: robust reconnect management in the firmware and local data buffering for periods of connectivity interruption.
Sound Masking: ESP32 + Custom PCB + React Native
Our sound masking system is an example of complete product development from idea to series production.
The problem: In open office environments, conversations disrupt concentration. Sound masking systems generate uniform background noise that masks speech and improves acoustic privacy.
The hardware: ESP32 microcontrollers drive speakers and generate the sound masking signal. For the series, we developed a custom PCB that integrates the ESP32, audio amplifier, and power supply on a compact board. The enclosure was initially 3D-printed and later converted to an injection-molded design for larger quantities.
The software: A React Native app enables configuration and control of the system via smartphone. The app communicates with individual sound masking units via BLE (Bluetooth Low Energy). Volume, frequency profile, and schedules can be individually configured.
The communication: The ESP32 devices communicate with each other via ESP-NOW — a protocol that enables direct communication between ESP32 devices without a router. This allows multiple units in a room to be synchronized without requiring WiFi infrastructure.
Common Challenges and How We Solve Them
Power Supply
Power supply is often the biggest constraint for IoT devices. Battery-powered devices require careful energy management: deep sleep modes, efficient communication protocols, and optimized firmware. An ESP32 in deep sleep consumes only a few microamperes — in active WiFi mode, it can be 150 to 200 milliamperes.
Reliability
An IoT device must function reliably — even during power outages, network interruptions, and environmental conditions that were not simulated in the lab. This requires defensive programming: watchdog timers that automatically restart the device on a crash, local data buffering for offline periods, and robust error handling.
Security
IoT devices are potential attack targets. Unencrypted communication, default passwords, and missing firmware signing are typical vulnerabilities. We rely on TLS-encrypted communication, individual device certificates, and signed firmware updates.
Scaling
What works with one prototype does not automatically work with 1,000 devices. The cloud infrastructure must scale, firmware updates must be reliably distributed to all devices, and monitoring must keep pace with the growing device count.
What an IoT Project Costs
A realistic cost breakdown for a typical IoT product development project:
| Phase | Cost |
|---|---|
| Concept and feasibility study | EUR 3,000 - 8,000 |
| Breadboard prototype | EUR 5,000 - 15,000 |
| 3D-printed prototype with enclosure | EUR 5,000 - 12,000 |
| Custom PCB design and fabrication | EUR 8,000 - 25,000 |
| Cloud platform and app | EUR 15,000 - 40,000 |
| Certification (CE) | EUR 3,000 - 10,000 |
| Total to production readiness | EUR 39,000 - 110,000 |
In addition, there are per-unit costs (materials, assembly, enclosure), which typically range from EUR 20 to 200 depending on complexity.
These numbers may seem high, but they put themselves into perspective quickly: a proprietary IoT product can be a unique selling point, generate recurring revenue, and automate processes that currently require manual effort.
When Does a Custom IoT Product Make Sense?
A custom IoT product is worthwhile when:
- No standard product meets your requirements — the specific combination of sensors, connectivity, and software does not exist on the market.
- You want to build a new business model — Hardware as a Service, data-driven services, or smart products.
- Process optimization promises significant savings — when an IoT device reduces maintenance costs, downtime, or manual effort.
- You want to differentiate — a proprietary IoT product can be a genuine unique selling point.
The Path from Idea to Product: How We Work
At IT-Trail, we combine software development with hardware expertise. Our approach:
- Workshop: Together, we define requirements and assess feasibility.
- Proof of Concept: A breadboard prototype proves technical feasibility.
- Prototype: A functional device with 3D-printed enclosure for testing in the real environment.
- Product Development: Custom PCB, optimized firmware, cloud platform, and app.
- Production Readiness: Manufacturing documentation, certification, and guidance through the first production run.
At every phase, there is a clear go/no-go decision. You only invest in the next phase when the current phase has delivered the expected results.
Conclusion
IoT product development is not a sprint but a structured process. From the breadboard through the 3D-printed prototype to the custom PCB and series production — each phase builds on the previous one and reduces risk for the next.
The key to success lies in interdisciplinary competence: electronics, firmware, mechanical design, cloud infrastructure, and application software must work together seamlessly. And it requires the willingness to test early, iterate quickly, and learn from every prototype.
The technology is mature, the tools are accessible, and the costs are manageable. If you have an idea for an IoT product, now is the right time to make it happen.
Want to develop an IoT product from idea to production readiness? IT-Trail GmbH supports you from strategy to implementation. Book a free consultation and let’s discuss your opportunities together.